Table of Contents
ToggleUpgrading your home theater doesn’t have to mean hiring an installer or dropping ten grand on gear. A quality receiver is the heart of any multi-speaker setup, and Sony’s lineup offers solid performance without the audiophile price tag. Whether you’re rewiring your living room or finally making sense of that tangle behind your TV stand, understanding what a home theater receiver does, and which features actually matter, will save you time, cash, and frustration. This guide walks through Sony’s current models, essential specs, and the real-world install steps you’ll need to get clean sound from every seat in the room.
Key Takeaways
- A Sony home theater receiver acts as the central hub for your multi-speaker setup, handling amplification, source switching, and surround sound decoding without the premium price tag of audiophile brands.
- The Sony STR-AN1000 offers the best value for most DIY installations, delivering 7.2 channels, full Dolby Atmos and DTS:X support, and room calibration technology for $600–$750.
- Proper speaker placement, room treatment, and running the included DCAC calibration are more critical to sound quality than choosing an expensive receiver model.
- Ensure your Sony home theater receiver has at least six HDMI 2.1 inputs with eARC support, Wi-Fi 6 connectivity, and a included calibration microphone for optimal setup and future-proofing.
- Set your subwoofer’s crossover to 80 Hz and run the auto-calibration test from your primary listening position to achieve balanced bass and dialogue clarity across your room.
What Is a Sony Home Theater Receiver and Why Choose Sony?
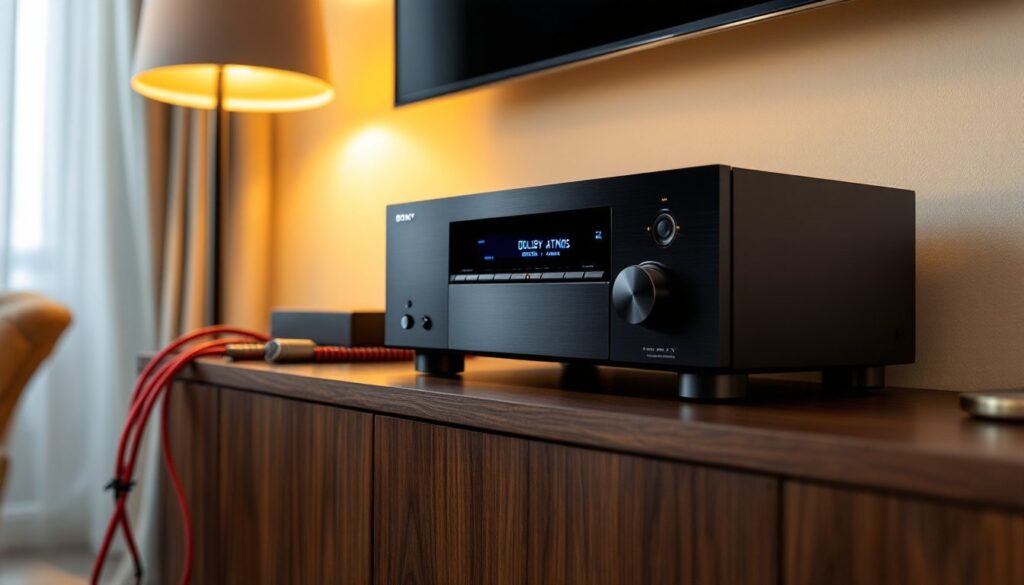
A home theater receiver is an amplifier, switcher, and processor rolled into one box. It takes audio and video signals from your devices, streaming boxes, Blu-ray players, game consoles, routes them to your TV, and sends multi-channel audio out to your speakers. The receiver decodes surround sound formats, manages volume across channels, and handles bass management for subwoofers.
Sony’s been in the audio game since the 1970s, and their receivers strike a balance between affordability and feature density. You’re not paying for boutique branding, but you’re getting reliable amplification, broad codec support, and integration with Sony’s own TVs and soundbars if you’re already in that ecosystem. Their mid-range models typically deliver 100 watts per channel into 8 ohms, enough to drive most bookshelf and tower speakers without clipping.
Why go Sony over competitors? First, build quality: their receivers use decent internal components and don’t overheat under normal loads. Second, codec support: Dolby Atmos, DTS:X, and high-res audio formats are standard on most 2026 models. Third, ease of setup: Sony’s auto-calibration (often branded as DCAC or D.C.A.C. EX) uses a microphone to measure room acoustics and dial in speaker levels, distance, and crossover points. That saves hours of guesswork if you’re not an acoustics engineer.
The trade-off? Sony receivers don’t always match the raw power or esoteric tweaking options of higher-end brands like Denon or Anthem. If you’re driving inefficient planar speakers or need room correction beyond basic EQ, you might outgrow Sony’s feature set. For typical home theater setups, 5.1 or 7.1 channels with sensitivity ratings above 86 dB, Sony’s amps do the job without drama.
Key Features to Look for in a Sony Home Theater Receiver
Not all receivers are built for the same room or use case. Here’s what to check before you buy.
Audio Formats and Surround Sound Technology
Dolby Atmos and DTS:X are object-based surround formats that add height channels, placing sounds above and around the listener. If your ceiling can accommodate in-ceiling or upfiring speakers, look for a Sony receiver with at least 5.1.2 channel processing (five main channels, one subwoofer, two height channels). Budget models may top out at 5.1, which is fine for most rooms but limits future expansion.
Check the amplifier configuration. A 7.2-channel receiver has seven amplified outputs and two subwoofer pre-outs. Some Sony models let you reassign amps, using two channels to bi-amp your front speakers or drive a second zone in another room. That flexibility matters if your setup evolves.
High-resolution audio support (FLAC, ALAC, DSD) is standard on 2026 models, but verify the receiver’s DAC specifications if you’re streaming lossless files from a NAS or USB drive. Sony’s mid-tier units typically handle 24-bit/192 kHz PCM and DSD 5.6 MHz without hiccups.
Don’t ignore bass management. The receiver should let you set crossover frequencies (usually 80 Hz for most speakers) so low-frequency content is routed to your subwoofer, not your bookshelf drivers. Sony’s DCAC usually handles this, but manual override is useful if your sub’s placement or room modes need correction.
Connectivity Options and Smart Features
Your receiver needs enough HDMI inputs to handle current and future sources. Count your devices, streaming stick, cable box, game console, Blu-ray, and add one or two for headroom. Most 2026 Sony receivers offer six to eight HDMI 2.1 inputs, supporting 4K at 120 Hz, Variable Refresh Rate (VRR), and Auto Low Latency Mode (ALLM), critical for gaming on PS5 or Xbox Series X.
Verify HDCP 2.3 support if you plan to watch 4K streaming services. Older HDCP 2.2 can cause handshake issues with newer content protection.
Wireless connectivity matters for streaming and calibration. Look for Wi-Fi 6 (802.11ax) for stable high-bitrate streams, Bluetooth 5.0 for phone pairing, and AirPlay 2 or Chromecast built-in if you’re in Apple or Google ecosystems. Spotify Connect and Tidal support are common: smart home integration with Alexa or Google Assistant can be handy but isn’t essential for sound quality.
An Ethernet port is non-negotiable if you’re serious about firmware updates and network streaming. Wi-Fi can drop during large file playback: wired is always more reliable.
Check the pre-out jacks if you might add an external amplifier later. Not all Sony models include them, and retrofit power is expensive without pre-outs.
Finally, confirm the receiver has a calibration microphone included. Sony’s DCAC mic looks like a small tripod-mounted capsule. Without it, you’re setting levels by ear, which rarely ends well.
Top Sony Home Theater Receiver Models for Different Budgets
Sony’s 2026 lineup spans entry-level to enthusiast tiers. Here’s where each fits.
Sony STR-DH590 (around $300-$400): A solid 5.2-channel workhorse for smaller rooms. It pushes 145 watts per channel (6 ohms, 1 kHz, 1% THD), decodes Dolby TrueHD and DTS-HD Master Audio, but lacks Atmos and DTS:X. Four HDMI inputs, all HDMI 2.0 (no 4K/120 Hz). Good for a basic 5.1 setup with a 55-inch TV and modest speakers. No Wi-Fi: Bluetooth only. If you’re not gaming on next-gen consoles and don’t need height channels, it’s functional and cheap.
Sony STR-AN1000 (around $600-$750): The sweet spot for most DIYers. 7.2 channels, 100 watts per channel (8 ohms, 20 Hz–20 kHz, 0.09% THD), full Dolby Atmos and DTS:X. Six HDMI 2.1 inputs with eARC, VRR, and ALLM. Wi-Fi 6, AirPlay 2, and Spotify Connect. The DCAC EX calibration is more granular than cheaper models, with 31-band EQ per channel. This model handles a 5.1.2 or 7.1 setup without breaking a sweat. It’s the best bang-per-watt in Sony’s lineup and the one most home theaters should start with.
Sony STR-AZ5000ES (around $1,800-$2,200): The ES (Elevated Standard) line is Sony’s upmarket tier. 11.2 channels of processing, but only nine amplified outputs (the other two require an external amp). 150 watts per channel (6 ohms), discrete high-current design, and premium DACs. Supports 360 Reality Audio and advanced room correction. Eight HDMI 2.1 inputs. If you’re building a dedicated theater room with in-ceiling Atmos speakers, this is your box. Overkill for a living room setup, but justified if you’re driving 4-ohm towers or multiple zones.
For most DIY installs, the STR-AN1000 offers the best feature-to-price ratio. You get current HDMI standards, room correction that works, and enough power for typical home speakers. Going cheaper means giving up Atmos: going pricier delivers marginal gains unless your room and speakers can exploit them.
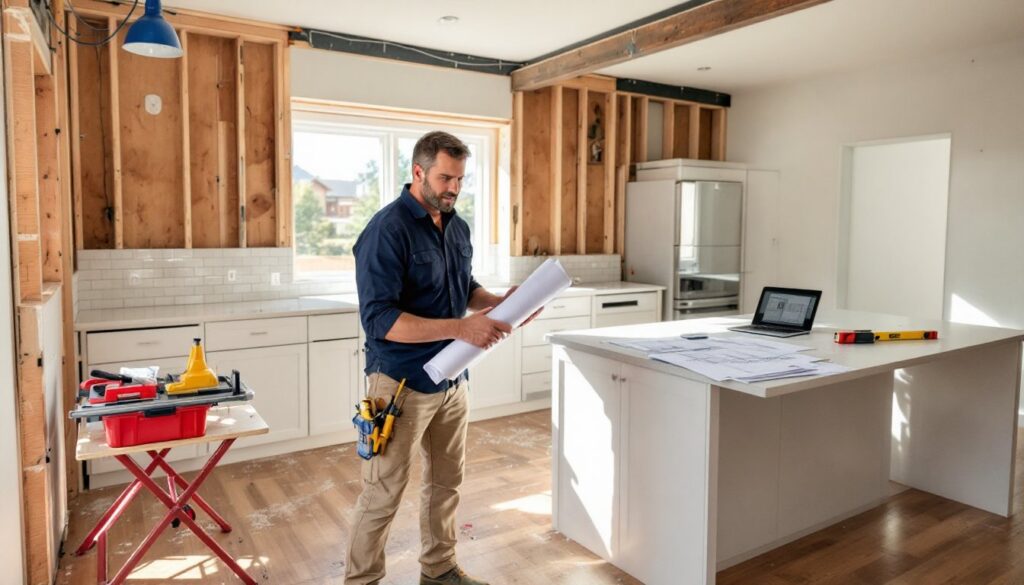
How to Install and Set Up Your Sony Receiver at Home
Installation isn’t complicated, but skipping steps leads to hum, dropouts, or blown tweeters. Here’s the process.
1. Plan your rack or shelf location. Receivers generate heat. Leave 3-4 inches of clearance above and behind the unit for ventilation. Don’t stack other components directly on top. If your entertainment center is enclosed, add a small USB-powered fan or leave the back open.
2. Run speaker wire before you connect anything. Use 16-gauge wire for runs under 50 feet, 14-gauge for longer distances or 4-ohm speakers. Strip 3/8 inch of insulation, twist strands tight, and match polarity (positive to red, negative to black) at both ends. Label each wire at the receiver, FR (front right), FL, C (center), SR (surround right), SL, SW (subwoofer). A label maker or masking tape saves confusion.
3. Connect HDMI sources to the receiver’s inputs, not the TV. Run one HDMI cable from the receiver’s HDMI Out (ARC or eARC) to your TV’s ARC-enabled input (usually HDMI 1). Enable CEC (HDMI Control) in both the TV and receiver menus so the TV remote can control receiver volume.
4. Plug in the subwoofer. Use a shielded RCA subwoofer cable from the receiver’s Sub 1 pre-out to the sub’s LFE input. Set the sub’s crossover knob to maximum or “bypass” mode, the receiver will handle crossover duties.
5. Power everything on and run DCAC. Place the included microphone at ear height in your primary listening position (usually the center seat of your couch). Follow the on-screen prompts. The receiver will emit test tones from each speaker, measure response, and set levels, distances, and EQ. This takes 5-10 minutes. Don’t skip it.
6. Verify settings manually. Go into the receiver’s speaker configuration menu. Confirm each speaker is set to “Small” (unless you have large towers that dig below 40 Hz). Set the crossover to 80 Hz for most bookshelf and satellite speakers. Adjust subwoofer level by ear, DCAC tends to set subs a bit low.
Safety note: Wear hearing protection during test tones if you’re in a small room. Some calibration sweeps hit 85+ dB SPL.
If you’re mounting the receiver in a rack, use rack ears or a shelf kit rated for the weight. Sony receivers typically weigh 20-25 pounds. Secure them so vibration or cable tension doesn’t pull the unit forward.
No picture? Check that your TV input matches the receiver’s HDMI output label. No sound? Verify the receiver’s input selector matches the active source. Hum or buzz? That’s usually a ground loop, try lifting the ground on one component with a three-prong adapter (consult a licensed electrician if the problem persists: don’t bypass grounding permanently).
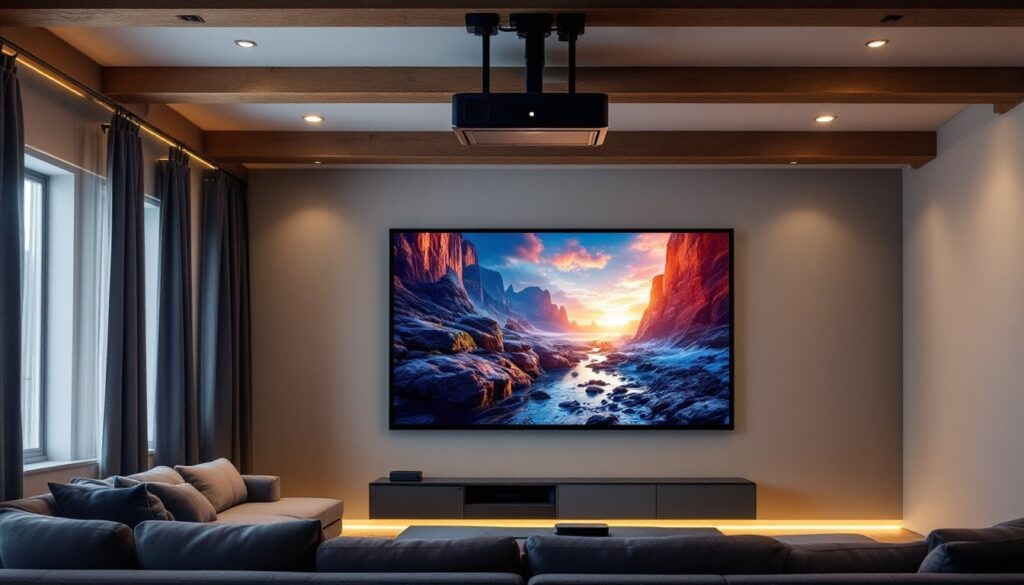
Maximizing Your Sony Receiver’s Performance in Your Space
Room acoustics kill more soundstage than any gear choice. Here’s how to squeeze the best performance out of your setup.
Speaker placement is non-negotiable. Front left and right speakers should form an equilateral triangle with your listening position, angled inward about 22-30 degrees. Center channel goes directly above or below the TV, aimed at ear height. Surrounds go 90-110 degrees to the sides (not behind) at or slightly above seated ear level. For Atmos, in-ceiling speakers should be 2-4 feet forward of the listening position, not directly overhead.
If your room has hardwood floors or bare walls, add area rugs and wall treatments. You don’t need acoustic panels, bookshelves, curtains, and upholstered furniture all dampen flutter echo and tame harsh highs. Hard surfaces make dialogue muddy and treble harsh.
Subwoofer placement is trial and error. The “subwoofer crawl” works: place the sub in your listening seat, play bass-heavy content, and crawl around the room’s perimeter. Where the bass sounds tightest and most even, put the sub. Corner placement boosts output but can cause boom: midwall placement is usually smoother.
Re-run DCAC if you move speakers or furniture. Room acoustics change with seating, and the auto-EQ compensates.
Don’t max out the receiver’s volume. If you’re pushing -10 dB or higher on the display and still want more, your speakers are undersized for the room or your listening habits. Adding a second subwoofer or more efficient speakers beats clipping an amp.
Keep firmware updated. Sony releases periodic updates that fix HDMI handshake bugs and add codec support. Check the receiver’s network settings menu quarterly.
If dialogue sounds thin, boost the center channel +2 to +3 dB in the receiver’s level menu. Movies are mixed for theaters, not living rooms: a center bump makes speech intelligible without cranking overall volume.
Finally, use home theater calibration tools like an SPL meter app (download a free one) to verify each speaker hits 75 dB at the listening position with pink noise. That’s the reference level for proper surround mixing. DCAC gets close, but manual confirmation catches outliers.
A well-installed Sony receiver, paired with decent speakers and basic room treatment, outperforms a flagship receiver in an untreated box. Spend your time on placement and calibration before chasing amplifier specs or exotic cables.