Table of Contents
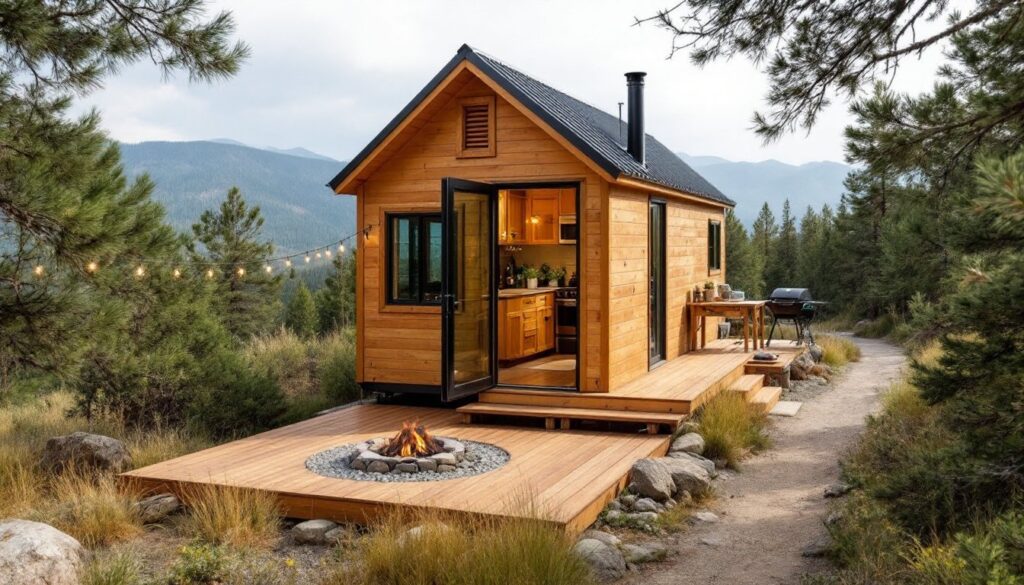
ToggleTurning a backyard shed into a tiny home offers an affordable, flexible way to add living space without pouring a foundation or hiring a general contractor. Whether someone’s eyeing a guest suite, rental income, or a full-time downsized dwelling, shed conversions deliver serious square footage for a fraction of new-build costs. But this isn’t a weekend project, it requires structural upgrades, code compliance, and utility hookups that go far beyond slapping up drywall. Done right, a shed conversion can meet building standards and create a functional, comfortable living space. This guide walks through the planning, permits, systems, and budgeting needed to pull it off.
Key Takeaways
- A shed to tiny home conversion costs between $19,000 and $41,500, making it a more affordable alternative to traditional ADUs or room additions while allowing phased, flexible construction.
- Structural upgrades including 2×6 wall framing with proper insulation (R-19 minimum), vapor barriers, egress windows, and reinforced floor joists are essential for meeting building codes and ensuring year-round livability.
- Zoning laws and building permits are mandatory—unpermitted sheds risk fines, forced removal, or property sale complications, so consult your local building department early to understand setbacks, size limits, and occupancy requirements.
- Running electrical, water, and sewer utilities can add $2,000 to $8,000 depending on distance and trenching depth, and hiring licensed electricians and plumbers is typically required by law for separate structures.
- Maximize small space living through vertical storage, a light color palette, multifunctional furniture, and efficient appliance choices like apartment-size kitchens and Murphy beds to create comfort in 120 to 240 square feet.
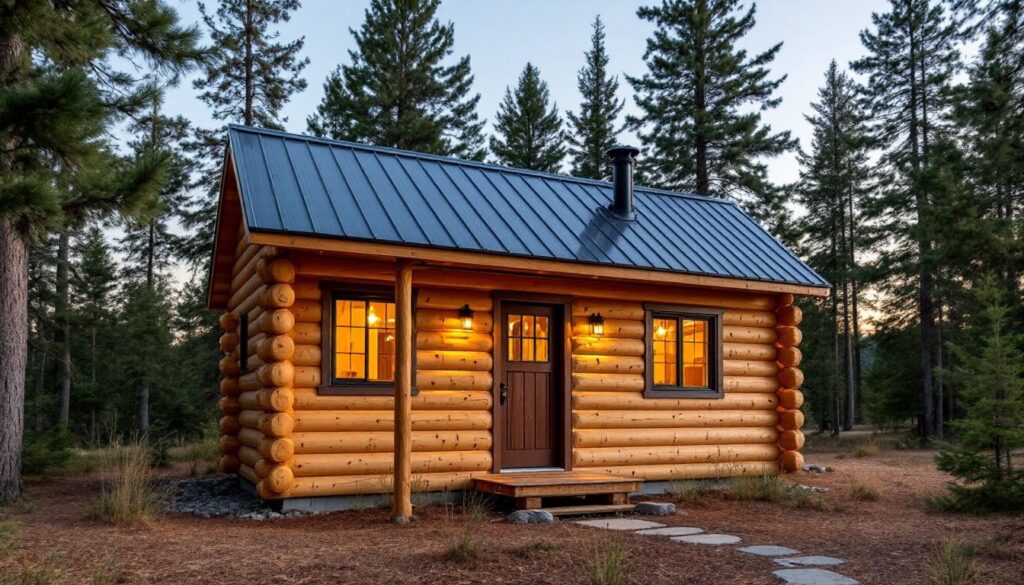
Why Convert a Shed into a Tiny Home?
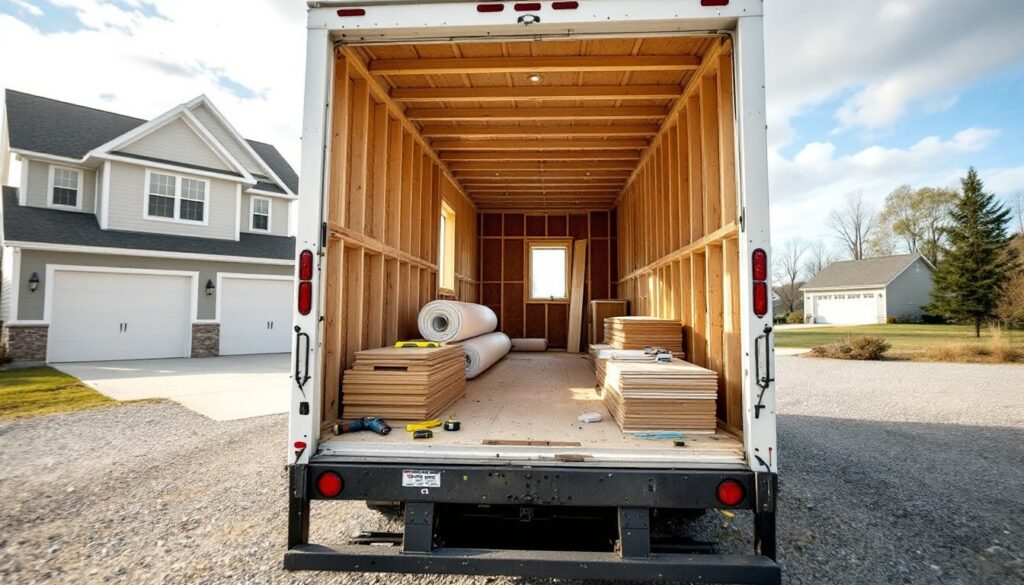
A shed conversion makes sense for homeowners who need extra space but face zoning restrictions on accessory dwelling units (ADUs) or can’t afford a ground-up build. Pre-fabricated sheds start around $3,000 to $15,000 depending on size and materials, giving a head start on framing and roofing. Add insulation, utilities, and interior finishes, and the total often lands between $15,000 and $50,000, still well under the cost of a traditional ADU or room addition.
Sheds also offer speed. A 12×20 or 12×24 structure can be delivered and set in a day, then outfitted over weeks or months as time and budget allow. That modularity appeals to DIYers who want to phase the work without living in a construction zone. Plus, shed conversions can serve multiple roles: home office, art studio, rental unit, or aging-in-place suite for a family member.
But not every shed qualifies. Most residential sheds use 2×4 wall framing on 24-inch centers and lack the insulation, moisture barriers, or load-bearing capacity for year-round occupancy. A true tiny home requires 2×6 walls, proper insulation (minimum R-19 in walls, R-30 to R-49 in the ceiling), vapor barriers, and egress windows. If the existing shed can’t support these upgrades, it may be cheaper to start with a structure designed for habitation from the start.
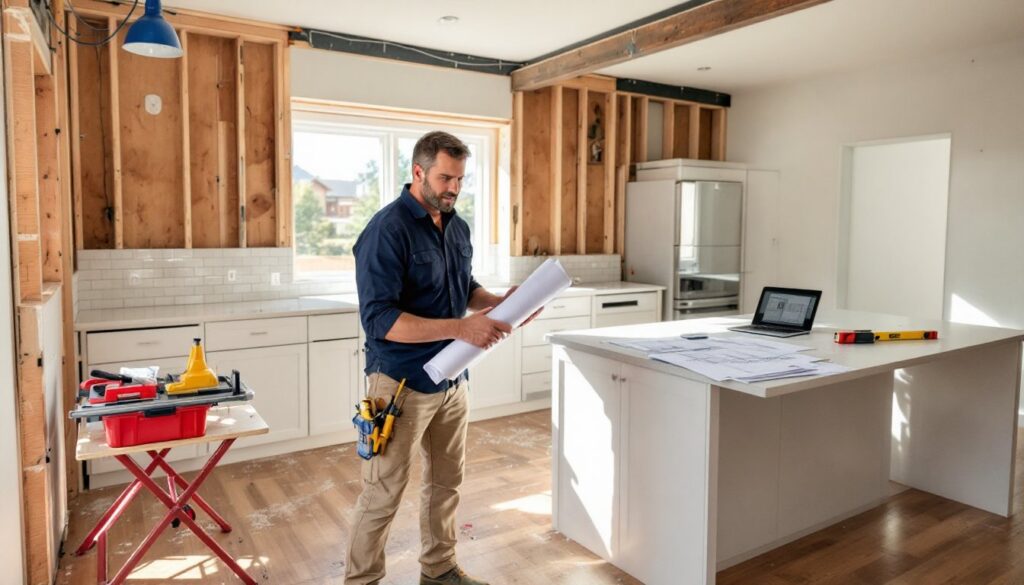
Planning Your Shed-to-Tiny-Home Conversion
Before swinging a hammer, map out the scope, budget, and timeline. Measure the shed’s actual dimensions, most “10×12” sheds are closer to 9’8″ × 11’8″ inside once you account for wall thickness. Sketch a floor plan that includes a sleeping area, kitchenette, bathroom, and storage. Remember that IRC (International Residential Code) requires habitable rooms to have at least 70 square feet and a minimum ceiling height of 7 feet over at least half the floor area. Lofts are fine for sleeping if headroom clears 3 feet at the access point.
Decide whether the shed stays on skids, gets a concrete slab, or sits on a pier-and-beam foundation. Skids work for structures under 200 square feet in many jurisdictions, but anything larger, or anything with plumbing, usually demands a frost-protected foundation that meets local frost-depth requirements. A 4-inch concrete slab with a gravel base is common and allows in-floor plumbing runs.
Consider utilities early. Running electrical, water, and sewer lines from the main house can add $2,000 to $8,000 depending on distance and trenching requirements. If municipal sewer isn’t an option, a composting toilet or holding tank may be necessary. HVAC options include mini-split heat pumps (efficient but pricey upfront) or baseboard electric heat plus a window AC unit (cheaper install, higher operating costs).
Zoning Laws and Building Permits
Most jurisdictions classify a livable structure as an accessory dwelling unit (ADU) or guest house, both of which trigger zoning and permit requirements. Common restrictions include:
- Setbacks: ADUs often must sit 5 to 10 feet from property lines and the main house.
- Size limits: Many cities cap ADUs at 800 to 1,200 square feet or a percentage of the primary dwelling’s footprint.
- Owner occupancy: Some areas require the homeowner to live on-site, either in the main house or the ADU.
- Parking: Additional off-street parking spaces may be mandated.
Pulling permits isn’t optional. An unpermitted ADU can trigger fines, forced removal, or problems selling the property. Permit fees range from $500 to $3,000, and the process typically includes plan review, foundation inspection, framing inspection, electrical and plumbing inspections, and a final occupancy sign-off. Budget 60 to 120 days for approval in most metro areas. For detailed guidance on home renovation tutorials, consult local building departments early to avoid costly redesigns mid-project.
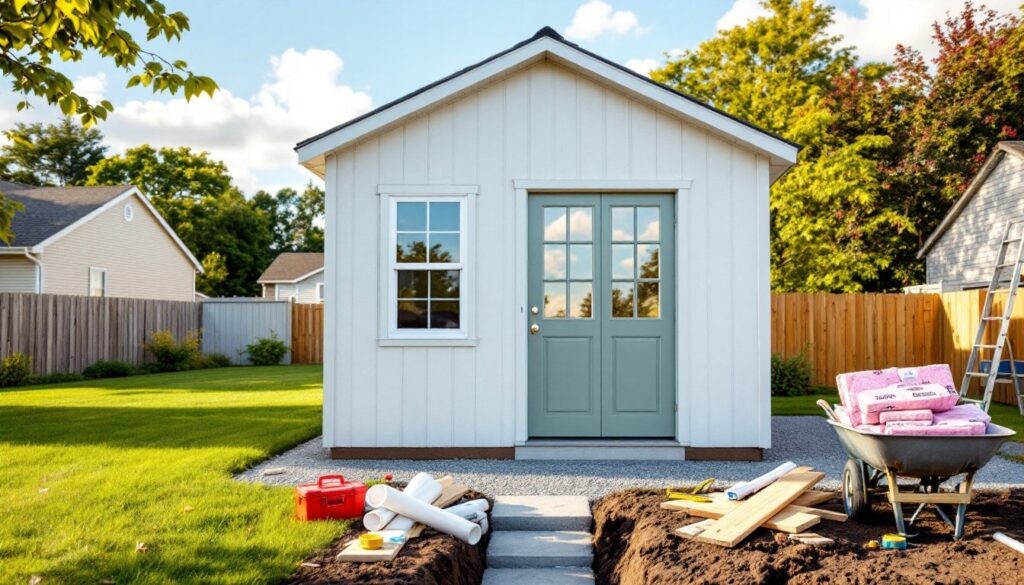
Essential Structural Upgrades for Livability
Most backyard sheds aren’t built to house people overnight. Walls are often 2×4 studs on 24-inch centers with no insulation, no vapor barrier, and exterior siding nailed directly to the frame. To meet code, upgrade to 2×6 studs on 16-inch centers if the existing frame allows, or add a second interior stud wall. Fill cavities with R-19 fiberglass batts or spray foam, then install a 6-mil polyethylene vapor barrier on the warm side before hanging drywall.
Roof and ceiling insulation matter even more. Heat rises, and an uninsulated ceiling in summer turns a tiny home into an oven. Aim for R-30 to R-49 depending on climate. If the shed has a low-slope or flat roof, consider adding rigid foam insulation over the existing sheathing, then a new waterproof membrane. Vented soffits and a ridge vent prevent moisture buildup and extend shingle life.
Egress windows are non-negotiable for sleeping areas. IRC requires at least one window with a minimum 5.7 square feet of opening, no dimension smaller than 20 inches, and a sill height no more than 44 inches above the floor. Many sheds come with small fixed windows that don’t meet egress standards. Cut a new rough opening, frame it, and install a code-compliant casement or slider. If the shed sits on skids above grade, add a small deck or steps below the window so occupants can exit safely.
Floor framing often needs reinforcement. Standard sheds use 2×6 or 2×8 joists on 16- or 24-inch centers, adequate for storage but marginal for furniture, appliances, and human traffic. Sister additional joists alongside existing ones, or add a central beam with posts to reduce span. Finish with ¾-inch tongue-and-groove plywood or OSB subfloor, then underlayment and final flooring. For beginner woodworking projects, reinforcing floor joists is a good first structural task before moving to walls and utilities.
Installing Plumbing, Electrical, and HVAC Systems
Electrical work starts at the main panel. A tiny home typically needs a dedicated 60- or 100-amp subpanel fed by underground conduit from the house. Hire a licensed electrician unless you’re confident pulling permits and passing inspection yourself, most jurisdictions don’t allow homeowner electrical work on separate structures. Budget $1,500 to $3,500 for a subpanel, wire run, outlets, switches, and lighting. Install GFCI outlets in the kitchen and bath, and ensure at least one outlet per wall in every habitable room per NEC code.
Plumbing gets tricky. Running water and drain lines underground requires trenching below frost depth, 18 to 48 inches depending on location, and maintaining proper slope for gravity drains (minimum ¼ inch per foot). If the shed sits far from the main sewer line, a sewage ejector pump may be needed to lift waste uphill. For a basic setup with a shower, toilet, and sink, expect $2,000 to $5,000 in materials and labor. Alternatively, a composting toilet eliminates the need for a black-water connection and costs $800 to $2,000 installed.
HVAC choices depend on climate and budget. A ductless mini-split heat pump provides both heating and cooling, operates quietly, and qualifies for energy-efficiency rebates in many states. Units sized for 200 to 400 square feet run $1,500 to $3,500 installed. For milder climates, a combination of baseboard electric heaters and a window AC unit works but drives up monthly utility bills. Add a bathroom exhaust fan (minimum 50 CFM) and a range hood if installing a cooktop, ventilation prevents mold and cooking odors from saturating the small space.
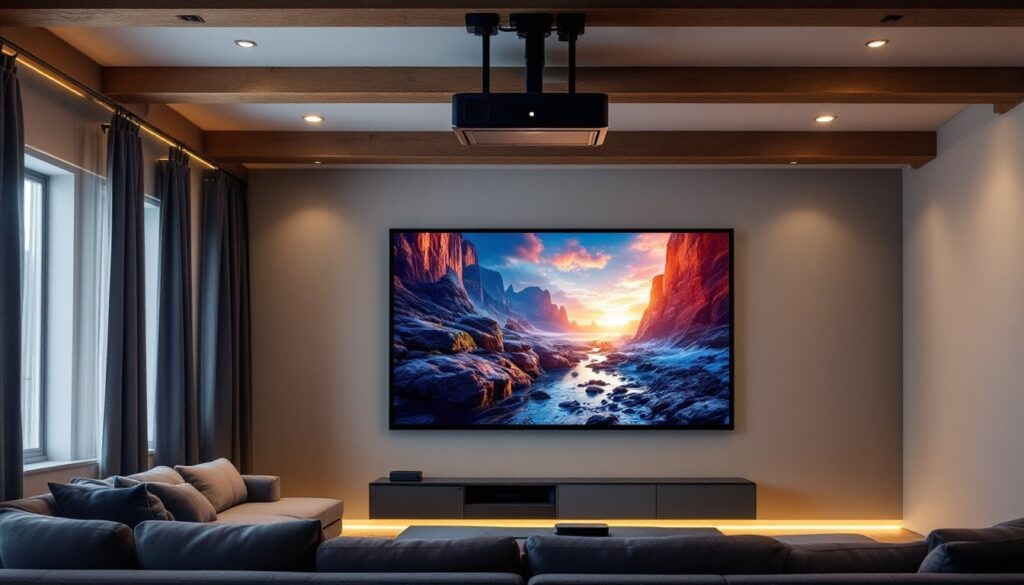
Interior Design Tips for Maximizing Small Spaces
In a 120- to 240-square-foot space, every inch counts. Start with a light color palette, white, soft gray, or pale wood tones, to visually expand the interior. Use the same flooring throughout to avoid breaking up the floor plane: luxury vinyl plank (LVP) offers durability and water resistance for around $2 to $4 per square foot installed.
Vertical storage is essential. Install open shelving, wall-mounted cabinets, and pegboards to keep counters and floors clear. A Murphy bed or loft sleeping platform frees up daytime living space. In the kitchen, choose apartment-size appliances: an 18-inch dishwasher, 24-inch range, and counter-depth refrigerator. Fold-down tables and nesting stools offer flexibility without bulk.
Windows and natural light make small spaces feel larger. If the shed’s original windows are small or poorly placed, add a 36-inch-wide picture window or a pair of casements on the long wall. Skylights or a solar tube bring overhead light into the center of the floor plan where wall windows can’t reach. For inspiration on small space living ideas, consider multifunctional furniture and clever storage hacks that blend form and function.
Bathroom layout demands careful planning. A corner shower (32×32 inches), wall-hung sink, and standard toilet fit in about 25 to 30 square feet. Use a pocket door or barn door to save swing space. Tile the entire bathroom floor and at least 6 feet up the shower walls with ceramic or porcelain tile for easy cleaning and moisture control.
Budget Breakdown: What Does a Shed Conversion Really Cost?
Costs vary widely based on size, finishes, and whether labor is DIY or contracted. Here’s a realistic breakdown for a 12×20 (240 sq ft) shed conversion in a mid-cost market:
- Shed structure (if purchasing new): $5,000–$10,000
- Foundation (concrete slab or piers): $1,500–$3,500
- Framing upgrades and insulation: $1,200–$2,500
- Windows and exterior door: $800–$1,500
- Electrical (subpanel, wiring, fixtures): $1,500–$3,500
- Plumbing (water, drain, fixtures): $2,000–$5,000
- HVAC (mini-split or baseboard/AC): $1,500–$3,500
- Interior finishes (drywall, flooring, paint, trim): $2,000–$4,000
- Kitchen and bath (cabinets, counters, appliances, toilet, shower): $3,000–$6,000
- Permits and inspections: $500–$2,000
Total range: $19,000–$41,500. DIYing most of the work can shave 30 to 50 percent off labor costs, but electrical and plumbing inspections still require licensed pros in most areas. On the high end, custom finishes, upgraded appliances, and site challenges (long utility runs, difficult access, ledge rock) can push totals past $50,000.
Pricing fluctuates with lumber costs, regional labor rates, and permit fees. Get multiple quotes, pad the budget by 10 to 15 percent for surprises, and prioritize code compliance over cosmetic upgrades. A legal, permitted tiny home adds property value and rental income potential, an unpermitted one is a liability.