Table of Contents
ToggleConverting a backyard shed into a livable tiny home has become one of the smartest ways to add functional square footage without the cost and hassle of a traditional home addition. Whether someone needs a rental unit, home office, guest quarters, or personal retreat, a shed conversion offers flexibility that conventional construction can’t match. But transforming a basic storage structure into a code-compliant dwelling requires more than cosmetic upgrades, it demands careful planning around structural integrity, utilities, and local zoning regulations. This guide walks through the essential steps, from choosing the right foundation to navigating electrical and plumbing systems.
Key Takeaways
- A shed tiny home conversion costs $4,000–$12,000 for the base structure, far less than traditional construction, and can be move-in ready in 8–16 weeks compared to 6–12 months for ground-up builds.
- Shed tiny homes must comply with local building codes for habitation, including egress windows (minimum 5.7 sq ft), 7-foot ceiling height, and inspected electrical and plumbing work to legally function as ADUs.
- Essential systems—electrical (60–100 amp subpanel, $2,000–$4,000), plumbing (3/4-inch supply lines, proper venting, $1,500–$3,500), and HVAC (mini-split heat pumps ideal for tight spaces)—must meet residential standards and be installed by licensed professionals.
- Proper insulation (R-13 to R-21 in walls, R-30 to R-49 in ceilings) with vapor barriers and soffit/ridge venting prevents mold, condensation, and energy waste in shed conversions.
- Zoning restrictions, inadequate foundations, moisture control, and permitting delays are common obstacles; always obtain permits before starting work to avoid resale, financing, and insurance complications.
- Flexible use cases for shed tiny homes include rental income units, aging-in-place housing, home offices, art studios, and guest quarters with minimal site disruption and often lower property tax impact.
What Is a Shed Tiny Home?
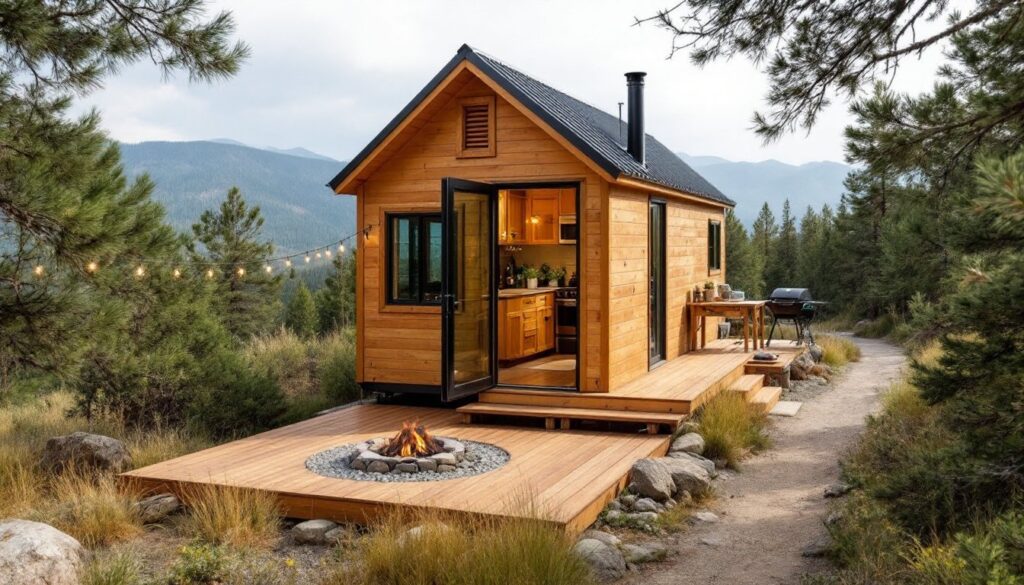
A shed tiny home is a prefabricated or custom-built shed structure that’s been retrofitted with the essential systems and finishes needed for habitable living space. Unlike traditional sheds designed solely for storage, these conversions include insulation, climate control, plumbing, electrical wiring, and interior finishes that meet residential building standards.
Most shed tiny homes range from 64 to 200 square feet, though larger models can reach 400 square feet depending on lot restrictions and local accessory dwelling unit (ADU) regulations. The base structure typically features wooden framing with 2×4 or 2×6 studs on 16-inch centers, similar to stick-built construction.
Key distinction: A storage shed becomes a tiny home only when it complies with local building codes for habitation. That means proper egress windows (minimum 5.7 square feet of openable area for emergency exit), adequate ceiling height (typically 7 feet minimum in habitable rooms per IRC standards), and inspected electrical and plumbing work. Many jurisdictions classify these as ADUs or backyard cottages, which may require permits, setback compliance, and utility hookups to the main residence.
Benefits of Converting a Shed Into a Tiny Home
Cost efficiency tops the list. A basic 12×16 shed shell costs between $4,000 and $12,000 depending on materials and supplier, while a full custom tiny home build can exceed $50,000. Converting a shed cuts foundation costs, framing labor, and timeline by starting with a weathertight envelope.
Speed of construction runs circles around traditional builds. Where a ground-up ADU might take 6-12 months from permits to occupancy, a shed conversion can be move-in ready in 8-16 weeks if the homeowner handles interior work and utility rough-ins are straightforward.
Flexible use cases make these structures incredibly practical. They function as:
- Rental income units (check local short-term rental ordinances)
- Aging-in-place housing for elderly parents
- Teen or young adult quarters
- Dedicated home office separate from the main house
- Art studios, workshops, or hobby spaces with living amenities
Lower property tax impact compared to full additions in many counties, since ADUs are often assessed separately and at lower rates than primary dwelling expansions. Always verify with the local assessor’s office.
Minimal site disruption during construction. There’s no foundation excavation comparable to a full addition, and prefab sheds can be delivered and set in a single day. For homeowners managing small space living ideas, shed conversions maximize usable property without sacrificing yard space to a massive footprint.
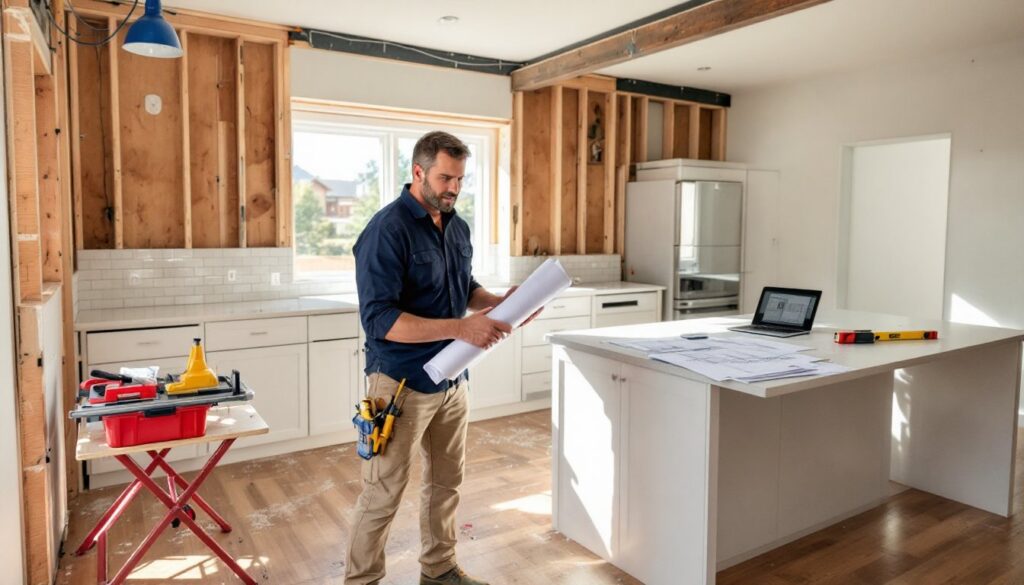
Planning Your Shed to Tiny Home Conversion
Start with the local zoning and building department. Most municipalities regulate ADUs through setback requirements (typically 5-10 feet from property lines), maximum square footage caps, and owner-occupancy rules. Some areas prohibit ADUs entirely or restrict them to certain zoning districts. Obtain permits before starting work, unpermitted conversions create resale and insurance headaches.
Foundation requirements vary by code. Permanent dwellings usually need frost-protected footings or a concrete slab, not just gravel pads or skid foundations. In cold climates, footings must extend below the frost line (often 36-48 inches deep). Consult a structural engineer if the existing shed sits on an inadequate foundation.
Utility access determines feasibility. Running electrical, water, and sewer lines from the main house adds $3,000-$8,000 depending on distance and trenching conditions. For off-grid setups, budget for a septic or composting toilet system, water catchment or well access, and solar panels with battery storage.
Insulation and moisture control prevent mold and energy waste. Standard sheds lack vapor barriers and insulation. Plan for:
- R-13 to R-21 batt insulation in walls (2×4 vs. 2×6 framing)
- R-30 to R-49 in ceiling/roof assemblies
- 6-mil polyethylene vapor barrier on the warm side of insulation
- Proper soffit and ridge venting to prevent condensation buildup
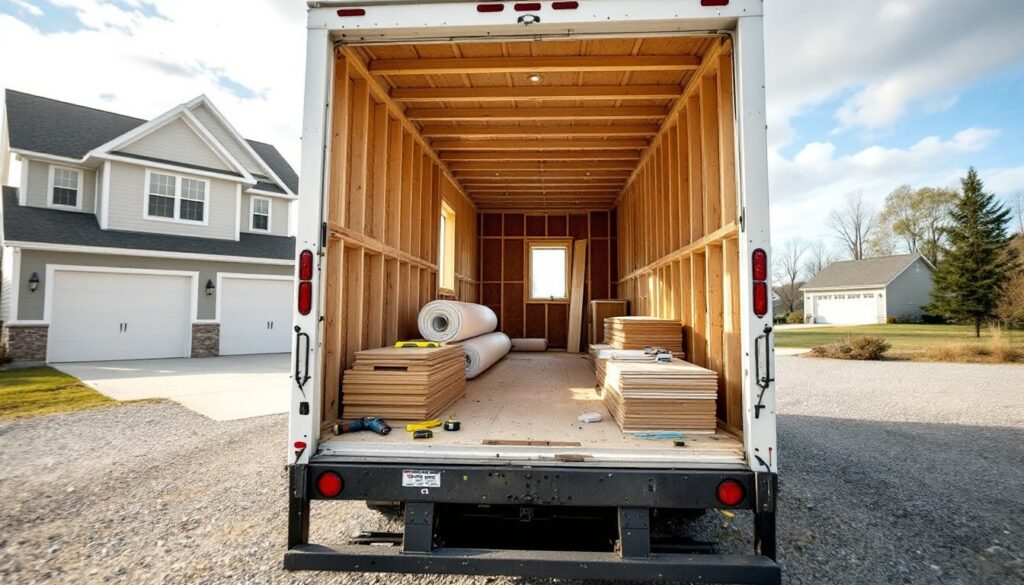
Choosing the Right Shed Structure
Not all sheds are conversion-ready. Look for:
Adequate floor joists: Storage sheds often use 2×4 joists on 24-inch centers, which won’t support live loads (40 psf) required for habitation. Upgrade to 2×6 or 2×8 joists on 16-inch centers for code compliance.
Ceiling height: Loft-style sheds with gambrel or barn roofs provide usable vertical space. Flat or low-pitch roofs limit headroom and make installing ductwork difficult.
Window and door openings: Pre-framed openings for egress windows save cutting into the structure later. The IRC requires at least one egress window with a sill height no more than 44 inches above the floor.
Structural capacity: The shed must handle added dead loads from drywall, cabinetry, tile, and fixtures. If retrofitting a lightweight storage shed, a structural engineer should verify load paths and recommend reinforcements.
Quality of materials: Sheds built with pressure-treated floor joists, engineered lumber, and properly flashed windows hold up better long-term than big-box economy models with stapled construction and unrated sheathing.
Essential Systems: Plumbing, Electrical, and HVAC
Electrical systems must meet National Electrical Code (NEC) standards. Hire a licensed electrician for the service panel, wiring, and inspection, this isn’t a DIY task unless the homeowner holds an electrical license. Typical requirements include:
- 60-amp or 100-amp subpanel fed from the main house panel
- GFCI-protected outlets in kitchen and bathroom areas
- Arc-fault circuit interrupters (AFCIs) on bedroom circuits
- Proper box fill calculations and grounding
Budget $2,000-$4,000 for a complete electrical rough-in and finish, plus trenching costs if running underground service.
Plumbing scope depends on layout. A kitchenette and bathroom require:
- 3/4-inch PEX or copper supply lines from the main house
- Drain lines sloped at 1/4 inch per foot minimum
- Vent stack to prevent trap siphoning (typically 1.5-2 inch diameter)
- Insulated pipes in exterior walls or heated chase to prevent freezing
Composting toilets eliminate the need for sewer connections but require routine maintenance. Expect $1,500-$3,500 for basic plumbing installation. Always pull permits, inspectors verify proper venting and drainage before walls close up.
HVAC options range widely:
- Mini-split heat pumps: Efficient and ductless, ideal for tight spaces. Units cost $1,200-$3,500 installed and handle both heating and cooling.
- Baseboard electric heat with a window AC unit: Budget option but less efficient.
- Radiant floor heating: Comfortable and space-saving but adds $8-$15 per square foot during construction.
Insulation quality directly impacts HVAC sizing. A well-insulated 150-square-foot shed may need only a 9,000 BTU mini-split, while a poorly insulated shell demands a larger, costlier unit. For builders tackling home repair tutorials, understanding load calculations prevents oversizing equipment.
Design and Layout Ideas for Maximum Functionality
Open floor plans make small footprints feel larger. Avoid interior walls unless absolutely necessary, use furniture placement and area rugs to define zones instead.
Loft sleeping areas capitalize on vertical space. A loft over the bathroom or kitchen creates a separate bedroom without eating into main floor area. Ensure 7 feet minimum headroom in the loft per code, and install a fixed staircase or ship’s ladder (50-70 degree angle) rather than a standard ladder for safety and usability.
Multi-functional furniture is essential. Consider:
- Murphy beds or sofa sleepers
- Fold-down dining tables mounted to the wall
- Built-in benches with storage underneath
- Pocket doors instead of swing doors to save floor space
Kitchen efficiency depends on smart appliance choices. A 24-inch range, compact refrigerator (10-12 cubic feet), and single-basin sink fit most tiny home kitchens. Use vertical storage, open shelving, pegboards, and magnetic knife strips, to keep counters clear.
Bathroom layouts typically include a corner shower (32×32 inches minimum), wall-hung toilet, and pedestal or floating vanity. Pocket doors save 9 square feet compared to swing doors. Install an exhaust fan rated for the room’s cubic footage to manage moisture.
Natural light transforms cramped spaces. Add windows on multiple walls for cross-ventilation and visual openness. Skylights or solar tubes bring daylight into interior areas without sacrificing wall space. Many home organization tips emphasize reducing clutter through built-in storage, critical in shed conversions where every cubic foot counts.
Common Challenges and How to Overcome Them
Zoning restrictions stop many projects before they start. Some municipalities cap ADU size at 800 square feet or require off-street parking. Others mandate architectural review for external appearance. Research local codes early and consider hiring a zoning consultant if regulations are unclear.
Moisture and ventilation issues plague poorly planned conversions. Sheds lack the vapor barriers and venting of traditional homes. Install a continuous vapor barrier, ensure bathroom and kitchen exhaust fans vent outdoors (not into attic spaces), and add soffit and ridge vents for airflow. Use mold-resistant drywall in bathrooms and kitchens.
Inadequate insulation leads to comfort problems and high energy bills. Don’t skimp, use closed-cell spray foam in rim joists and band boards, batt insulation in walls and ceilings, and rigid foam sheathing on exterior walls if budget allows. Seal all penetrations with caulk or spray foam.
Foundation settling occurs when sheds sit on gravel pads or improperly compacted soil. This causes doors to stick, floors to slope, and cracks in finishes. Invest in a proper foundation, either a frost-protected slab or pier-and-beam system engineered for live loads.
Utility hookup costs surprise many DIYers. Trenching 100 feet for water, sewer, and electric can exceed $5,000 if bedrock or existing utilities complicate the work. Get multiple quotes and consider PEX for water lines (easier to install than rigid copper) and direct-burial electrical cable rated for wet locations.
Permitting delays extend timelines. Some jurisdictions take 6-12 weeks to review ADU plans. Submit complete, professionally drawn plans to avoid resubmission cycles. Hire a draftsperson familiar with local code if tackling the design independently.
Resale and financing complications arise with unpermitted work. Mortgage lenders may refuse to finance properties with non-compliant ADUs, and buyers will demand permits or negotiate steep discounts. Always permit structural, electrical, and plumbing work, it protects investment and ensures safety.